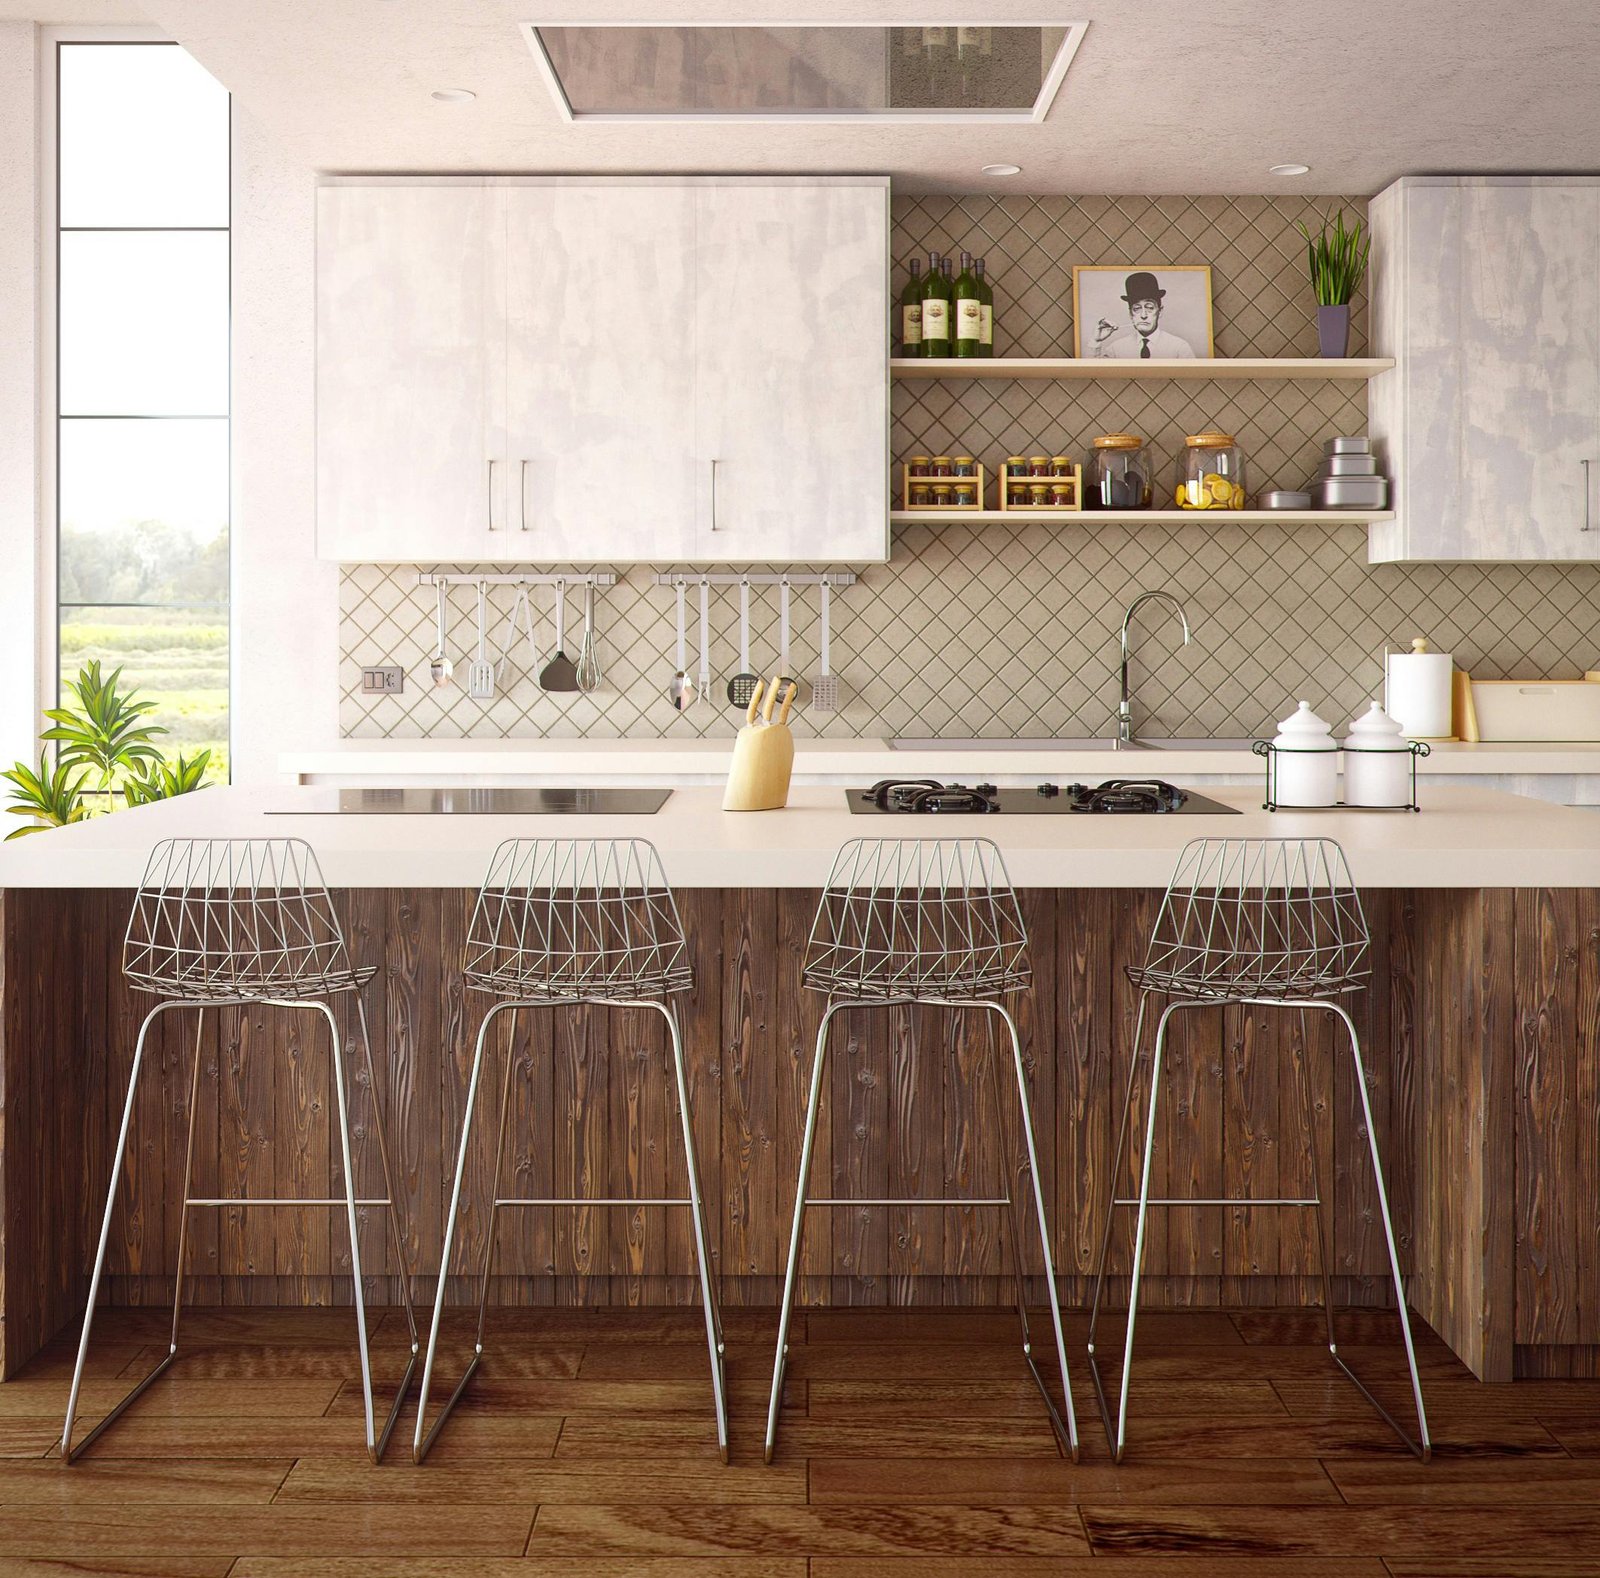
Refinishing your kitchen cabinets is a great way to give your kitchen a fresh new look without the expense of a full remodel. You could actually do it yourself over a weekend. In this step-by-step guide, we’ll walk you through the process of refinishing your kitchen cabinets, including the right tools and techniques.
Before You Begin
Let’s make sure you have all the necessary tools and materials first. You’ll need:
- Sandpaper (80, 120, and 220 grit)
- Electric sander (optional but helpful)
- Tack cloth
- Painter’s tape
- Drop cloths or plastic sheeting
- Paint brushes
- Foam rollers
- Primer
- Paint (semi-gloss or gloss finish is best for kitchens)
- Clear topcoat (optional but recommended)
You’ll also need a full weekend and maybe some buffer time to allow for drying between coats.
Step 1: Preparation
Alright, now that you’ve got everything, it’s time to do some preparation. Preparation is key to achieving a smooth, professional-looking finish. Here’s how to prep your cabinets for refinishing:
- Remove all cabinet doors, drawers, and hardware. Label each piece so you know where it goes when it’s time to reassemble.
- Clean the cabinets thoroughly with a degreaser or all-purpose cleaner to remove any dirt, grease, or grime.
- Fill any cracks, holes, or dents with wood filler. Once dry, sand these spots smooth.
- Sand all surfaces to be painted. Start with 80-grit sandpaper to remove the existing finish and smooth out any rough spots. Progress to 120-grit, then finish with 220-grit for a smooth surface. An electric sander can speed up this process significantly.
- Wipe down all sanded surfaces with a tack cloth to remove sanding dust.
- Use painter’s tape to protect any areas you don’t want painted, such as the inside of the cabinets or adjoining walls. Place drop cloths or plastic sheeting to protect your countertops, appliances, and flooring.
Step 2: Priming
You’ll want to apply a coat of primer next. Primer helps to cover the existing color or wood grain, providing a blank canvas for your new paint color. It improves paint adhesion. Don’t want your paint peeling off, right? Here’s how to prime your cabinets:
- Choose a high-quality, stain-blocking primer suitable for the material of your cabinets (wood, laminate, etc.).
- Using a brush or roller, apply an even coat of primer to all surfaces. Tip: A foam roller can help minimize brush strokes for a smoother finish.
- Allow the primer to dry completely according to the manufacturer’s instructions.
- Sand lightly with 220-grit sandpaper to remove any brush strokes or imperfections.
- Wipe down with a tack cloth to remove sanding dust.
Step 3: Painting
Alright! You’re ready to paint your cabinets! Here are some tips for achieving a smooth, even finish:
- Choose a high-quality paint in a semi-gloss or gloss finish. These finishes are more durable and easier to clean, making them ideal for kitchen cabinets.
- Stir the paint thoroughly and pour it into a paint tray.
- Using a brush, paint the edges, corners, and any detailed areas first.
- Then, using a foam roller, apply the paint in long, even strokes. Roll in one direction, then lightly roll in the perpendicular direction to even out the finish.
- Apply thin, even coats rather than thick coats. You’ll likely need 2-3 coats for full coverage.
- Allow each coat to dry completely before applying the next. Lightly sand between coats if needed.
- Optional but recommended: Once the final coat is completely dry, apply a clear topcoat for added durability and protection.
Step 4: Reassembly
Before starting this step, you’ll want to give your cabinets at least 24 hours to dry. Once they’re dry, you can reassemble the cabinets.
- Remove the painter’s tape and protective coverings.
- Reattach cabinet doors, drawers, and hardware. Refer to your labels to ensure each piece goes back in the right place.
- If you’re installing new hardware, now’s the time to do it. Make sure to measure carefully for placement.
And you’re done! With fresh paint and perhaps new hardware, your cabinets will look brand new.
Pro Tips for Success
- Work in a well-ventilated area. Open windows and use fans to circulate air.
- If possible, work in a dust-free environment like a garage or workshop to minimize dust settling on your wet paint.
- Take your time. Rushing the process can lead to mistakes or a subpar finish.
- Don’t skip the sanding steps. Proper sanding is key to a smooth finish and good paint adhesion.
- Use quality tools and materials. Good brushes, rollers, and paint will make the job easier and give you better results.
- Consider your kitchen’s style when choosing paint colors and hardware finishes. Opt for timeless choices that will look good for years to come.
Need us to do it for you?
We are a full-service home remodeler in Texas servicing the North Dallas area. We can take care of cabinet refinishing, interior painting, exterior painting and even full-home remodeling and patio building. We also provide color and design recommendations that modernizes while still retains the charm of the interior of your home. Whether you’re in Prosper, Frisco, McKinney, Southlake, or Plano, book a free estimate with us today at:
https://pocketsuite.io/book/extraordinary-remodeling?channel=suitelink

